How do I prepare my car for a wrap?

Before a vinyl vehicle wrap is applied your car must

  • be prepared properly to ensure the vinyl adheres properly

  • the paint on the car needs to be smooth - vinyl clings to every indentation

  • If there is rust on the car or chips in its paint - then vinyl may not successfully

    disguise it

  • WAX OFF - Wax is bad for wraps and must be removed

Think Team requires customers bring their cars in for vinyl wraps pre-cleaned.

You can bring your car through an automatic car wash or wash it yourself—just make sure your car is clean when you bring it in to us.

Our team will clean the car 1 more time before applying vinyl.

We ensure all signs of wax, tar, and dirt is non-existent.

WHAT IS A VEHICLE WRAP?

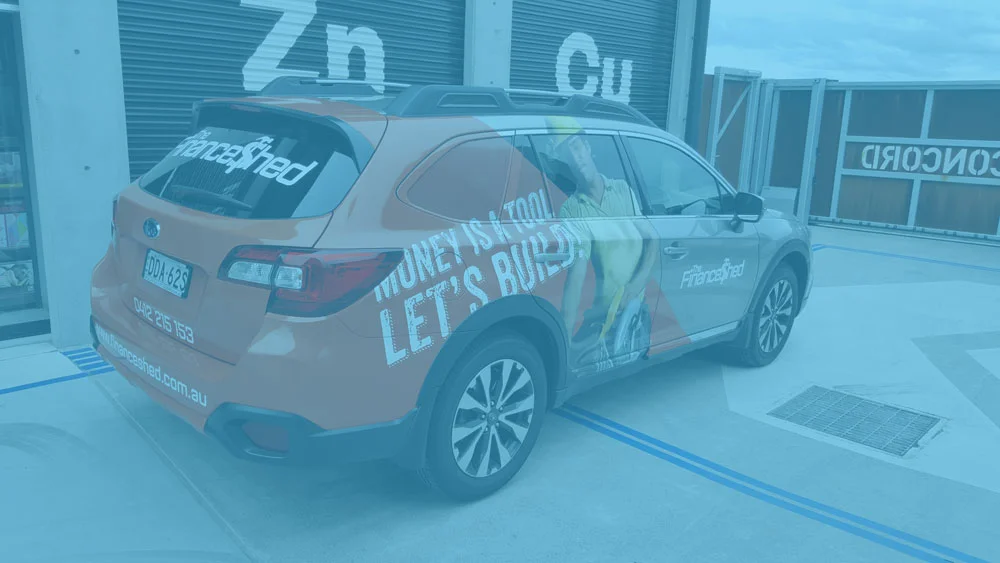
A vehicle wrap is effectively ‘wrapping’ the car with vinyl.

It is a process where some or all of your cars’ surface areas are covered with a high-quality self-adhesive vinyl. Style wise the wrap may consist of a full-colour digitally-printed design or any of the solid type colours that are available.

HOW LONG WILL A VINYL WRAP LAST?

Typically vinyl wraps should last at least 3 years

However it depends on the installer, exposure to the weather,  type of vinyl and how well you maintain the wrap.

Vinyl manufacturers such a 3M, Avery, Arlon, and Hexis suggest that the vinyl material will last up to 5 years on vertical surfaces, however specialist products such as chrome have a shorter life expectancy (1-2 years). Bonnets, roof or boot lid of a car, will generally show signs of wear first eg colour fading. Hand washing and storing your car in a garage out of the elements of the weather can extend the life of your vinyl wrap

DOES A VINYL WRAP DAMAGE THE PAINT ON MY CAR?

The wrap actually protects the paint from the harshness of the sun, exposure to the elements, and minor scratches

Assuming the car has original paintwork and that the paintwork is in good condition, there is little chance the wrap will damage the paintwork.

If your vehicle has been repainted then there is no guarantee that when you remove the vinyl wrap the paint will still be perfect

WHAT IF THE PAINT IS IN BAD SHAPE?

A great wrap needs to be applied over a great paint job. In fact all imperfections in the paint such as stone chips, scratches, dents, etc. will show right through the wrap.

Any loose or flaking paint on a vehicle is detrimental to the success of the wrap. Adhesion fails as the vinyl sticks to the paint but the paint is not sticking to the vehicle.

Oxidized paint has a dull, sometimes powdery look to it, and this does not allow for proper adhesion of the wrap. This problem need to be fixed before the vinyl can be installed, otherwise there will be failures

CAN I REMOVE THE VEHICLE WRAP?

Absolutely! But it is recommended letting a professional remove the wrap

To remove the wrap requires a large amount of heat and different tools. Adhesive residue may be left behind once the vinyl is peeled back which we use special citrus-based cleaners to remove this without harming the paintwork.

view

car wraps here

Tips for putting down a decal

There are 2 types of vinyl application

Dry application

Ensure surface is which vinyl is to be applied is thoroughly clean
The surface must not be hotter than the vinyl.
 

Wet application

Used for Big surface areas as this method helps eliminate air bubbles on larger areas of vinyl, allows re-positioning of the image several times

Use a specialist application fluid to ensure you do not re-contaminate 


Take the application tape carrying the image and lightly position it onto the substrate.

Firmly squeegee the image down, starting at the centre and working carefully outwards
ensuring constant pressure is applied across the entire design.

Slowly peel the application tape back on itself, leaving the image in position.

Re-squeegee the image to ensure good contact
take care not to scratch either the image or the substrate

Using a fine spray dampen the adhesive side of the vinyl with application fluid 

Float the application tape carrying the weeded image onto the fluid

Gently dab the image down to achieve the correct positioning.

Firmly squeegee the image from the centre outwards to force any remaining moisture/air from under the image.

download

pdf here

How do I prepare the surface for my sticker?

Surface preparation is the key to easy application of cut or printed vinyl graphics.

  • Any surface to which vinyl is to be applied must be clean and free of surface treatments to ensure a good bond.

A specialist surface cleaner should be used in all cases
Newly painted surfaces should be left to cure before graphics are applied 30 DAYS AT LEAST
Avoid greasy, rough or porous surfaces.

– Surfaces prone to out-gassing may produce bubbles under the vinyl and can eventually lead to total failure of the adhesive bond.
polycarbonates, some acrylics, as well as surfaces treated with silicone, wax, sealants or varnish.

– Particular care must be taken when applying vinyl to other vinyl surfaces such as flexible truck sides, banners and stretched sign-faces.
These substrates contain plasticisers, which can migrate to the applied face-film and break down the adhesive

  •    The first order of business for a flawless installation of your new vinyl is to prepare the surface.

 
001-glass-cleaning TGC.png

Glass Applications

It is best to prepare the glass surface by spraying a glass cleaner onto the surface.
Follow this step with a final spray of glass cleaner, wipe dry with a clean lint free cloth or towel and proceed to the application process

004-wipe plastic TGC.png

Plastic Surfaces

Wipe entire surface with rubbing alcohol or other mild solvent. Proceed to application process

003-car-cleaning TGC.png

Painted Surfaces

Vinyl can be applied to automotive painted surfaces by first using rubbing alcohol or other
mild solvent cleaner to remove wax and other road debris. Spray surface cleaner over surface and wipe clean.
Interior painted walls and surfaces must be cleaned with a mild soapy solution or paint manufacturer recommended cleaner.

 
006-chemical TGC.png

DO NOT USE solvent based products to clean interior paint surfaces. Interior paints are usually water-based.
Using a harsh cleaner can damage your painted surface. Wipe clean with lint free cloth or towel and proceed to application process    

Good surface preparation also ensures a long and trouble-free service life thereafter.

download

How to prepare surface and apply